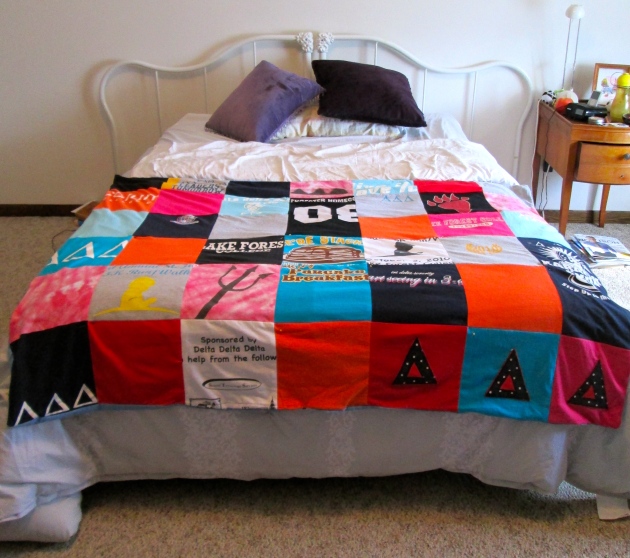
After graduating college, I was left with more college and sorority t-shirts that I could ever want to wear. I didn’t want to throw them out, however. Afterall, they reminded me of some great memories that I hoped never to forget. But I didn’t really want to drag my twenty-some t-shirts to my new apartment, so instead, I chose to create a quilt from the old shirts. As a novice sewer, it took me longer than excepted to finish, but the work was worth it! Now I have a comfy blanket that holds so many memories from my college days, livens up my new apartment, and is much more useful than a stack of worn out shirts. Below are steps to creating your own t-shirt blanket.
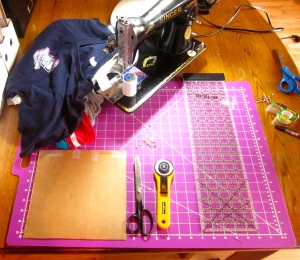
What you need:
18+ T-shirts
Sewing Machine
Thread
Cardboard (cut into 9″ by 9″ square)
Rotary cutter
Cutting mat
Straight edge
Scissors (one pair for fabric, one pair for the cardboard)
Pins
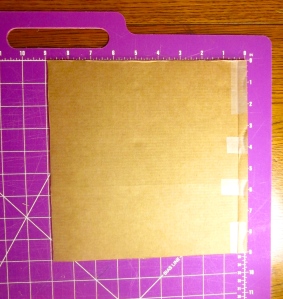
Cut the cardboard into a 9 inch by 9 inch square. This will serve as your template for the fabric squares.

Cut down the sides of your t-shirt and lay flat on the cutting board.
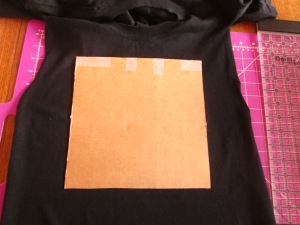
Place cardboard square over t-shirt and carefully use rotary cutter to cut fabric. Use the straight edge to guide your cutting.
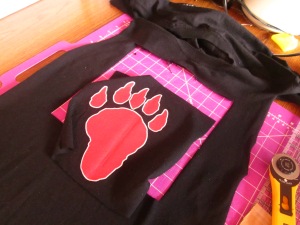
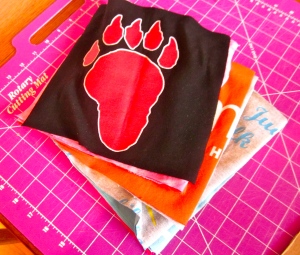
Continue for all your t-shirts. I first cut out the graphic on the shirt and then cut as many squares of the solid color from the t-shirts as I could. I wanted as many squares to work with so that I could put together the most desired combination.
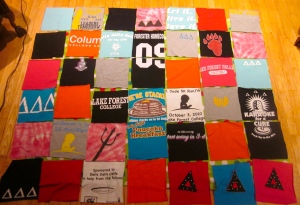
I then laid out the squares on the floor in order to get clear picture of what my blanket would look like. I chose to use 36 squares total (6 squares by 6 squares). However, I recommend laying out your quilt 6 squares across and five squares high. With 36 squares, I had trouble finding fabric that was wide enough to be a backing piece. I ended up having to cut off half of the top row of squares in order to back my quilt with two panels of solid fabric.
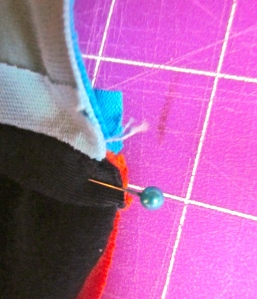
Next, pin one row of squares together to begin sewing. Once you have sewn all your row, you can sew your columns. Make sure that you line up your seams as perfectly as possible, so that your squares are even and tight.
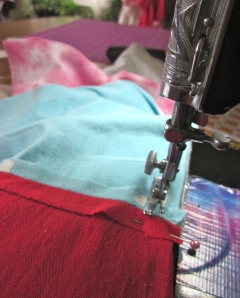 I then sewed on my back panel fabric. I found inexpensive fabric at Savers, so I had to cut it into two panels in order to fit my quilt properly. I recommend using a cotton or cotton blend for the backing. I considered fleece, which is a good option if you want a very warm blanket, but I opted out because I want my blanket to function as more of an everyday throw.
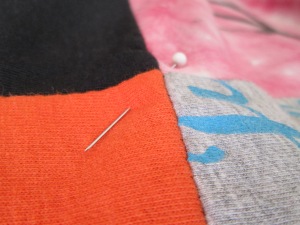 Finally, I pinned every other corner then sewed a few stitches. Doing this will keep the squares from shifting in the wash.
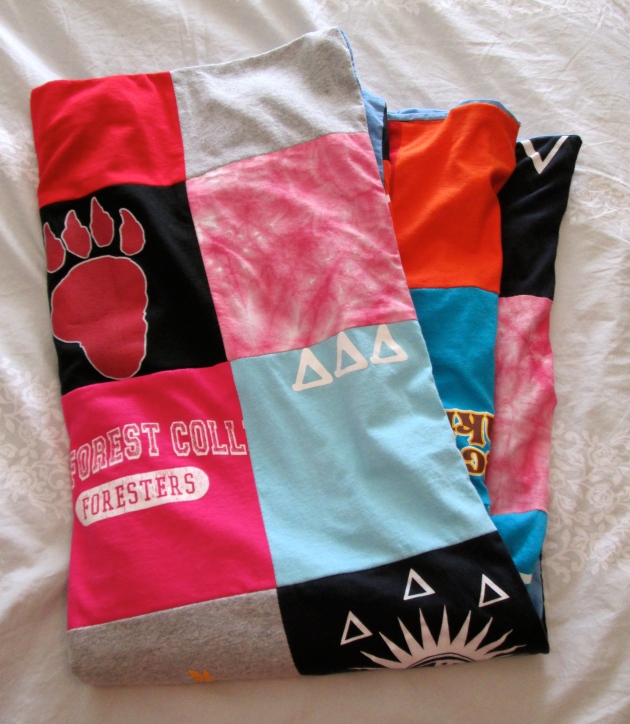
Voila! Your t-shirt quilt is done and ready to serve as a memorable and functional piece for many years. Beats keeping a stack of old shirts around!
Some final recommendations:
If your machine has zig-zag stitch, use this as the t-shirts are knits and will tend to stretch. I used a very old Singer that did not have zig-zag, so I may be faced with some shifting in the future.
Any extra squares would make great, soft pillows.
Good luck!
Sarah


